Effective Solutions to Solve Green Lines on Windows 10
Your Windows 10 laptop can generate horizontal green lines for several reasons. While there is a possibility of a hardware problem with your monitor, you could also have an issue with a corrupt display driver. It is also possible for Windows 10 laptops to display green lines when the GPU driver is outdated. To decide if a software glitch or hardware failure is responsible for the green lines on Windows 10, it is important to determine the cause of the green lines. This blog has listed a few troubleshooting methods on how to fix Green Lines on Windows 10 with ease.
Methods to Troubleshoot
Green Lines on Windows 10
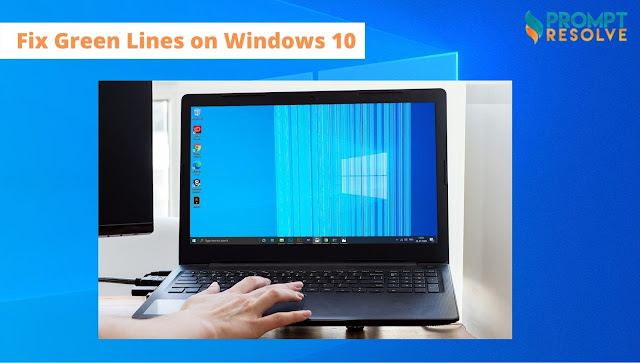
This image is usually caused by a bad display cable, a faulty
graphics card, or bad video cables. It is not a big deal when your screen loses
its display and green lines appear on it. There may be a mysterious solution to
the problem, but you can figure it out by following the methods below.
1. Graphics Card Driver Update
Manually updating the graphics card drivers from the device
manager can be done, but DriverFix can simplify it more. Follow below simple
steps to update your graphics card driver:
·
The first thing you should do is download and install DriverFix
and run the program.
·
Now, DriverFix will detect all the defective drivers. This may
take a while.
·
This application will now show you all the drivers that have
malfunctioned.
·
Afterward, select the problem you want to solve, then wait for the
application to download and install the latest drivers.
·
Now, restart your system to take effect the changes.
2. BIOS Update
You can also update the BIOS on Windows 10 to solve the green
lines on screen. Follow the instructions below:
·
To determine which BIOS or UEFI firmware is installed on your
system, open the cmd and run it as administrator.
·
Then, type the following command "wmic bios get
smbiosbiosversion" and press 'Enter.'
·
This command displays the BIOS or UEFI firmware that is installed
on your system.
·
When you have the BIOS version, open the laptop manufacturer's
website. From there, navigate to the download center, enter the details of your
laptop, and see if a BIOS update is available.
·
Follow the instructions to update the BIOS. After updating the
BIOS, check if the Green lines have disappeared from your Windows 10 screen. If
they have not disappeared, move on to the next solution.
3. Check for Hardware Problems
Green lines can appear on your screen when there is a problem with
the display or when there is a software error. In such a case, try to boot into
your BIOS. To access the Windows 10 BIOS, turn off the system and press the
power button on your device. Depending on which manufacturer you have, you may
need to press F2/Del/F10/F12 to open the BIOS. Consult your laptop's user
manual for more instructions. Now, check whether the green lines are gone or
not.
4. Reinstall the Monitor Driver
·
The first step is to open Run and type in devmgmt.msc, then click
on it to open the Device Manager. Expand the 'Display Adapters' section and
right-click on the current display adapter.
·
You now need to check the box next to 'Remove drivers.' Uninstall
the driver by clicking the 'Uninstall' button and restarting the system.
·
You will now see green lines on Windows 10 disappear after Windows
reinstalls the required driver for your display adapter.
Many causes can cause these green lines to appear on your Windows
screen, including obsolete video card drivers, broken ribbon cables, and
incorrect video cable connections. But by carefully following the solutions
listed in this guide, you can quickly resolve the issue.


Comments
Post a Comment